
This tutorial will be one of applying textures in the process of making the logo for game we are about to publish as a webplayer. I will be using GIMP, a free download art interface. GIMP is also pressure sensitive if you have a pen tablet, allowing a large range of detail.
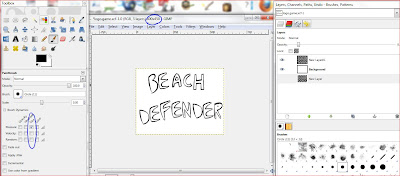
First off, I have my canvas (600x450px) and my image is composed of at the moment a white background and a transparent layer with the picture. I'd made it so that the brush size is sensitive to the pressure of my pen tablet, allowing sharp edges. However, after the initial outline is completed, precise brushstrokes aren't necessary.
Applying textures to pictures isn't all that hard, and makes all the difference.
Or if you want to be complicated and mathematical : (The variable "M" is the mask and "I"is the image layer below the mask, and 255= the pixel color component, which must always be between 0 and 255)
(The image divided by 255 multiplied by the image plus twice the mask layer that is divided by 255 multiplied by 255 minus the image equals the effect you receive)
First off, I have my canvas (600x450px) and my image is composed of at the moment a white background and a transparent layer with the picture. I'd made it so that the brush size is sensitive to the pressure of my pen tablet, allowing sharp edges. However, after the initial outline is completed, precise brushstrokes aren't necessary.
I then did a layer of one color (grey in this case) under the outline layer. After the coloring was done I found a metal texture I liked. I use bittbox for my textures because they have a wide variety of textures that are free and come in multiple sizes. I used a rusted blue metal texture. It ended up looking like this:
| I set the texture layer to 88% opacity and a copy of my color layer over that at 62% opacity. |
- First you find a texture you like, whether you find it on the internet or you take a picture of something and scan it in, and save it to your computer.
- Open the texture picture in GIMP, moving it above the layers you want it to affect
- Set the layer to "Overlay" using the little arrow tab above the opacity options.
- Adjust opacity of the texture until you get what you want, you can even apply multiple textures.
Or if you want to be complicated and mathematical : (The variable "M" is the mask and "I"is the image layer below the mask, and 255= the pixel color component, which must always be between 0 and 255)
E= I/255(I+2M/255(255-I))
But anyway, that is how you apply textures to make your picture look fancy and professional. If you need a better explanation, feel free to email the blog.
Comments
Post a Comment